It is usually best to start with a pinboard for your entire team, for example "Team meetings" or "Policies & Procedures"
Helpful resources
- You will find a list of the most popular pinboards here: popular pinboards
- In particular: Rotas, Corona tests, Carers, Care coordinators, Care supervisors, Team meetings, Policies & Procedures, Clients, Handovers
- Are you looking for a great pinboard photo? Then take a look here: beautiful pinboard photos
- When you are done, you should have at least one pinboard with at least two members. Test this, by posting something. Did every member on the pinboard get a notification?
Step-by-step instructions
Create a new pinboard
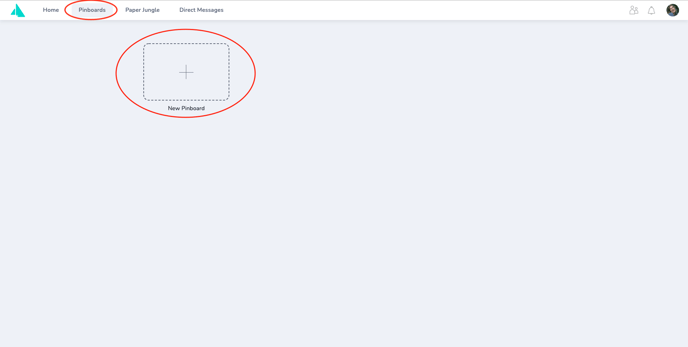
Navigate to "Pinboards" and click on "New Pinboard".
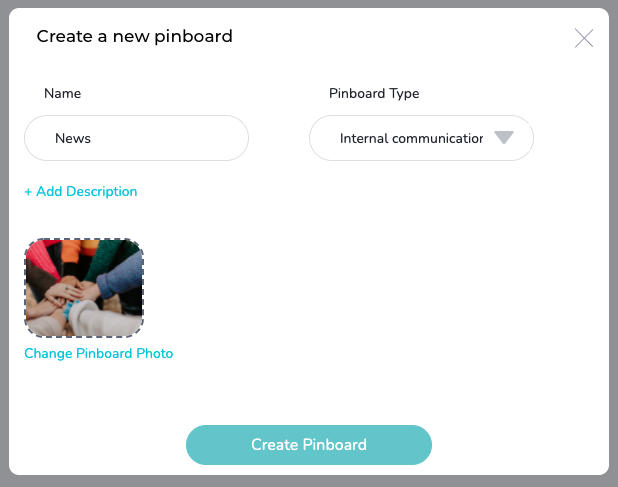
Enter information about the pinboard
In the pop-up that opens, enter a name for the pinboard.
You can also select the pinboard type and add a picture, if you like. This way, members of the pinboard can understand the purpose of the pinboard and will enjoy using it. Photos of the team or motivational images are well suited. You can find beautiful, licence-free images here, for example: https://unsplash.com/
When you are done, click on "Create Pinboard".
View your new pinboard
The pinboard now appears on the 'Wall', where you can find all of your pinboards.
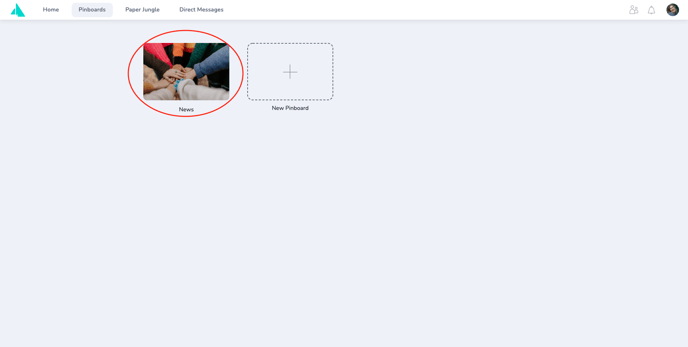
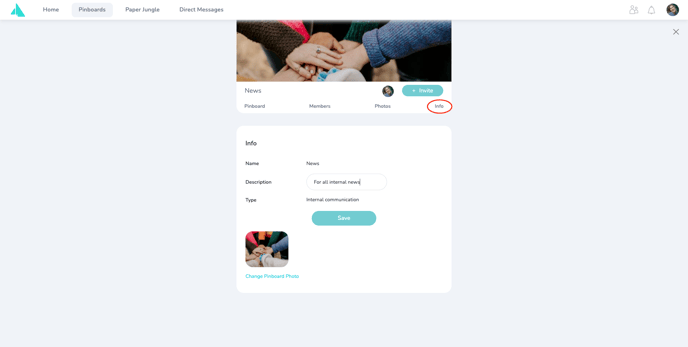
Click on the pinboard to take a closer look.
- You always start in the 'Pinboard' tab. All posts created by you or other members appear here
- Under 'Members' you can see all the members of the pinboard and can add new users to it - more on this later
- Under 'Photos' you can see all pictures which were shared on that pinboard
- Under 'Info' you can see the information you entered when creating the pinboard and can edit, if necessary